The aftermath of a storm is overwhelming, especially when it comes to assessing and restoring the damage inflicted on your roof. Whether it’s heavy rains, strong winds, or hail, storms can take a toll on the structural integrity of your roof, leading to leaks, missing shingles, or even more severe damage. This comprehensive guide walks you through the necessary steps to restore your roof, ensuring a thorough and effective recovery process.
Safety First: Assess the Damage from a Distance
Before you embark on any roof restoration efforts, prioritize safety. Conduct a visual inspection using binoculars to identify any visible damage. Avoid climbing onto the roof immediately, as there may be hidden dangers like weakened structures or loose debris. If you’re uncertain or concerned about the extent of the damage, it’s advisable to consult with a professional roofing contractor. Seasoned providers of emergency storm damage repairs suggest opting for the services of trained and certified professionals with experience in handling storm-related roof damage. These experts are equipped with the knowledge to assess the structural integrity of your roof, identifying potential hazards that may not be immediately visible. While your initial assessment from the ground is valuable, it’s imperative to have a professional roofing contractor conduct a thorough inspection. Professionals can identify hidden damage, assess the overall condition of your roof, and provide detailed recommendations for restoration.
Document the Damage: Take Photos and Notes
Documenting the damage is a crucial step for insurance claims and future reference. Take clear photographs of the affected areas from various angles, capturing close-ups and wider shots. Make notes on the areas where damage is evident, including missing shingles, dents, or any signs of water intrusion. This documentation will be valuable when communicating with your insurance provider and contractors during restoration.
Check for Interior Damage: Assess Water Leakage
Storm damage often leads to water leaks, and it’s essential to check your home’s interior for any signs of water intrusion. Inspect ceilings, walls, and attic spaces for water stains, dampness, or mold growth. Addressing interior damage promptly is crucial to prevent further deterioration and potential health hazards. Storms may also impact the structural integrity of your roof, mainly if high winds or falling debris have occurred. Assess the framing and support structures for any signs of damage, such as sagging or compromised stability.
Contact Your Insurance Provider: Initiate a Claim
Once you’ve documented the damage, contact your insurance provider to initiate a claim. Provide them with detailed information about the extent of the damage, backed up by the photos and notes you’ve taken. Be prepared to answer questions about the cause of the damage and any pre-existing conditions of your roof. Promptly starting the claims process will expedite the restoration and repair of your roof.
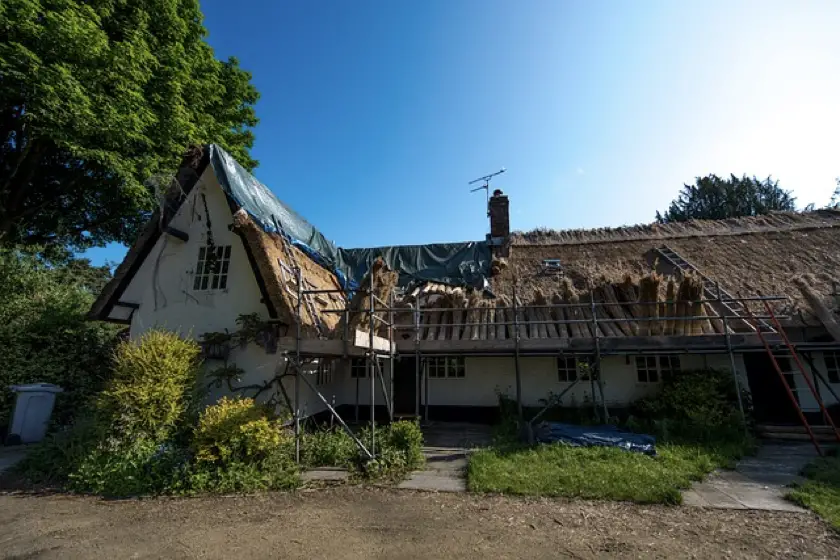
Temporary Repairs: Tarping and Securing Vulnerable Areas
To prevent further damage while awaiting permanent repairs:
- Consider implementing interim measures.
- Use tarps to cover exposed areas where shingles are missing or damaged.
- Secure these tarps tightly to prevent water intrusion.
Temporary repairs are essential to mitigate immediate risks and protect your home from additional storm-related damage. Storms often leave debris scattered across roofs and clog gutters, hindering proper drainage. Safely remove any debris from your roof, paying attention to valleys, around chimneys, and in gutters. Clearing these areas ensures that water can flow freely, reducing the risk of water pooling or leaks. However, exercise caution and consider professional help if the debris removal involves challenging or dangerous conditions.
Replace Missing or Damaged Shingles and Flashings
Prompt replacement of missing or damaged shingles is crucial—secure matching shingles to maintain the integrity of your roof’s protective layer. Ensure replacements are installed correctly, following the manufacturer’s guidelines and local building codes. If you’re unsure or uncomfortable with this task, it’s advisable to leave it to professional roofers who have the expertise and equipment to execute repairs effectively.
Flashings are critical components that protect vulnerable areas of your roof, such as chimneys, vents, and skylights. Storms can dislodge or damage flashings, compromising their effectiveness. During the inspection, ensure that all flashings are securely in place and free from damage. If any issues are detected, promptly repair or replace them to prevent water intrusion.
Restoring your roof after a storm involves a combination of timely action, professional expertise, and careful documentation. By following these comprehensive steps, you address immediate concerns and contribute to your roof’s long-term resilience and durability. Remember that safety is paramount, and when in doubt, consult with experienced roofing professionals who can guide you through the restoration process and ensure that your home is protected for years to come.
Hey Everyone! This is Mia Shannon from Taxes. I'm 28 years old a professional blogger and writer. I've been blogging and writing for 10 years. Here I talk about various topics such as Fashion, Beauty, Health & Fitness, Lifestyle, and Home Hacks, etc. Read my latest stories.