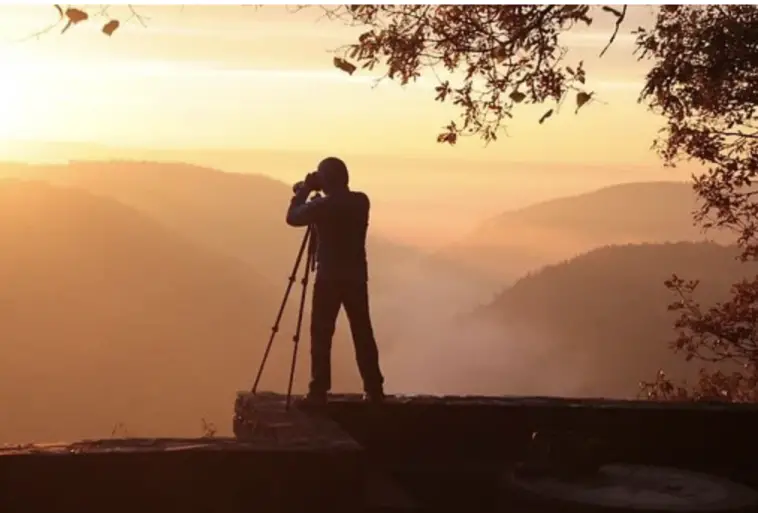
Have you ever wondered what the word “photography” means? The word has Greek roots and it actually means “Writing with light” (“Photo” means “Light”, and the suffix “graphy” means “writing”). As a photographer, you really need to understand how the light works. This can be very complex, as the light behaves differently when passing through various objectives, creating shadows and different colors.
It’s important getting to know the effects of positions and conditions of light in order to create moods and shadows. If you don’t have the knowledge, the most expensive camera will be worthless. Light is essential, whether you are shooting digital or film.
So, if you are a beginner and curious about this topic, here are three main concepts you need to understand:
Position
Let’s find out how position plays the role in the photoshoot lighting setup! If you try taking a photo with only one candle as a source of light, you will notice how the position of that candle changes everything. The objects you are shooting are in direct relation to the light source.
Front Lighting
If you place the light directly in front of the object it will definitely bring out the details, because all shadows will be behind the object.
Pros:
- This is the easiest way to shoot
- There are almost no shadows to conceal the details
- It’s the most common light direction
- It’s very flattering when shooting someone’s face
- The photo feels nice, opened and light
Cons:
- It may be considered boring or flat sometimes
- Form of the object/subject is not highlighted enough
Side Lighting
It is still simple to shoot, but you must be careful of the shadows. It definitely doesn’t have to be a ninety-degree angle and you can adjust it the way you prefer.
Pros:
- It creates mood
- It defines form and dimension
- It gives texture and depth to the photo
- It adds “drama” to your photo
- You have better control of the background
Cons:
- You will need more practice than with the front lighting
- It’s not so flattering for portraits
Back Lighting
Beginners often avoid using it, because if you are not skilled enough you can end up with a photo of a silhouette.
Pros:
- It is the most artistic one
- It may make things appear to glow, and portraits have a halo effect
- You have all the space for being creative
Cons:
- It’s the trickiest
- You will need to understand the manual mode
- You can turn your object into a dark silhouette
- You may make the background overly exposed

Strength
Soft light vs. Hard light? This is one of the basic questions. It really depends on how light or dark you want your shadows to be.
Hard light will create deeper shadows and more contrasts. It sometimes has a bad reputation when shooting portraits (e.g. it can create shadows under the eyes). This can always be avoided with the right position of the light and proper equipment. The experts at Photography-Lighting.com insist on quality flashes and light modifiers that make your photos more professional. If you want an edgy look, then the hard light is the thing for you.
Soft light offers more subtle shadows. It is less dramatic, but it’s a great starting point if you are a beginner. It can also make your subject appear younger or more beautiful.
Color
Sometimes people don’t realize how important color is, even if they are experienced in photography. Colors give the photos an emotional level. When you look at it you can feel excited, or melancholic. It can seem mysterious or dramatic. And the professionals agree that the emotional response from the viewers is vital.
We can do many things to control color. For example, if we are taking photos of a landscape, the colors will be very different, depending on the time of the day, weather conditions, etc. You can change the composition or find a new angle.
It is advisable to use a white balance of your camera. Most cameras will do it automatically, but professional photographers often play with manual white balance. If the white balance is accurate it means that the white objects in real life are also white in a photo. But by using the Kelvin scale you can get more creative. For example: If you add more orange to it, you will get a warm, cozy feeling. If you adjust the white balance to blue, it will give a melancholic mood and cooler look.

Now you understand you can become a great photographer by learning about light. Start slowly and follow these tips for beginners. As you grow as an artist you will start experimenting and exploring your creativity. Remember that “The beauty is in the eye of the beholder” and photography is a great way to express your emotions and inner beauty.


