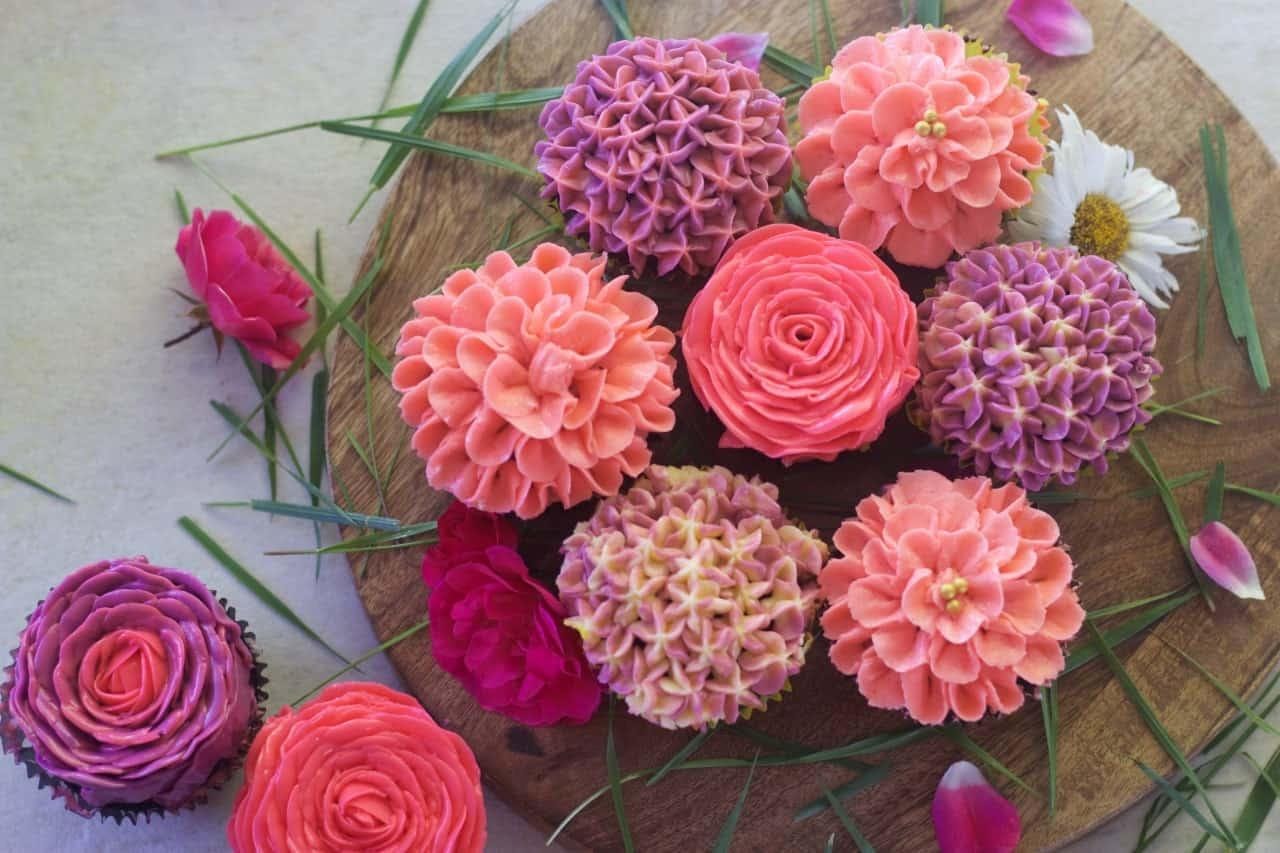
Frosting flowers are a fun way to add some extra pizzazz to your baked goods. They are very easy to make and can be done with any frosting consistency, from stiff buttercream for piping intricate petal designs to soft cream cheese frostings for simpler shapes like daisies. You can even whip up a batch of homemade marshmallow fluff in less than 5 minutes and use it as the base for these adorable little blossoms.
Follow these steps, and you’ll be on your way to making beautiful frosting flowers in no time.
- Gather the necessary tools: The first step in making beautiful frosting is to gather all the essential tools you’ll need. You’ll need a piping bag or zip-top sandwich bag, tips for the style of flowers you’d like to make (tips are generally numbered from smallest to largest), couplers that match your tips, and a steady hand. You can buy all these tools at any craft store or online.
- Prepare the frosting: There are two options when it comes to preparing your frosting – using homemade marshmallow fluff as a base or making buttercream with confectioner’s sugar and milk/heavy cream. If you’re going with option one, simply microwave some marshmallows until completely melted in a bowl big enough to hold all your frosting without spilling over onto an extra plate if needed.
Once they’ve cooled slightly but are still melted, mix them with your prepared frosting until thoroughly combined. If you’re going the buttercream route, simply beat together softened unsalted room temperature butter and confectioner’s sugar at a low speed for about two minutes or so before adding milk/heavy cream to produce a soft fluffy consistency that can be piped without being too stiff. You can check out Chopnotch.com for additional tips in making frosts or dessert recipes.

- Prepare tips: Make sure all of your tips are cleanly pushed into couplers that fit properly – if it doesn’t go in easily, then take out both pieces and run an untipped pen through it with some water (awesome tip from here). You will only need to push one end onto the top part of each coupling but make sure they are on there securely; otherwise, when you go to fit the tips onto your piping bags, you will have a mess on your hands.
- Prepare bags: Fill a bag with all of your tips going in one direction, and then another empty piping bag inside that filled one. Twist the top closed, so you have two full bags, but hold onto both “halves” as if they were still separate – this will allow you to reach into each without getting frosting everywhere when it’s time for decorating.
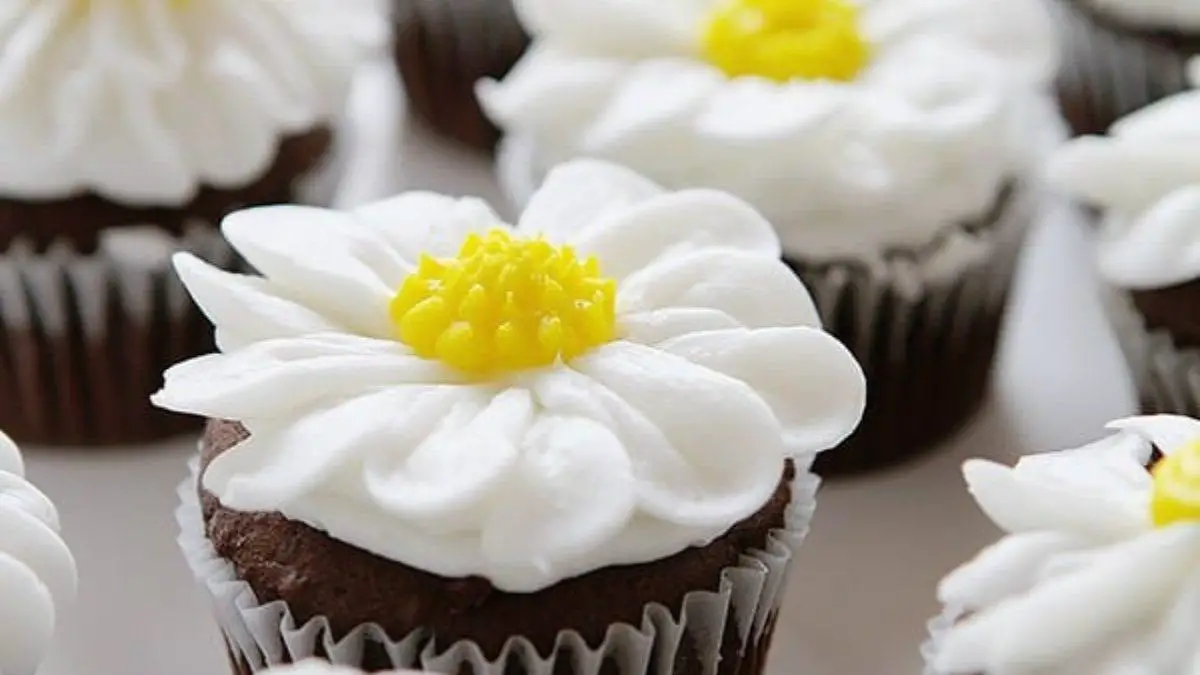
- Make flowers: Pipe round scoops from outside to the center. They should be just about touching as they go up or down, depending on what kind of flower shape you’re making (hint- daisies are circles). When these rounds get big enough, gently squeeze them together until there is little space left between them; take care not to overdo it, though, because we want a delicate flower.
Squeeze out any little tail if necessary using a damp paper towel or pastry brush, as this will make it easier for them to sit flat against whatever they’re going on top of without toppling over! Then just twirl those bad boys around until all that’s left is a nicely shaped center with no big gaps between petals. Ensure not to use too much pressure when squeezing these rounds together; otherwise, we might lose our nice round scoops, so go easy but firm enough so they won’t fall apart.
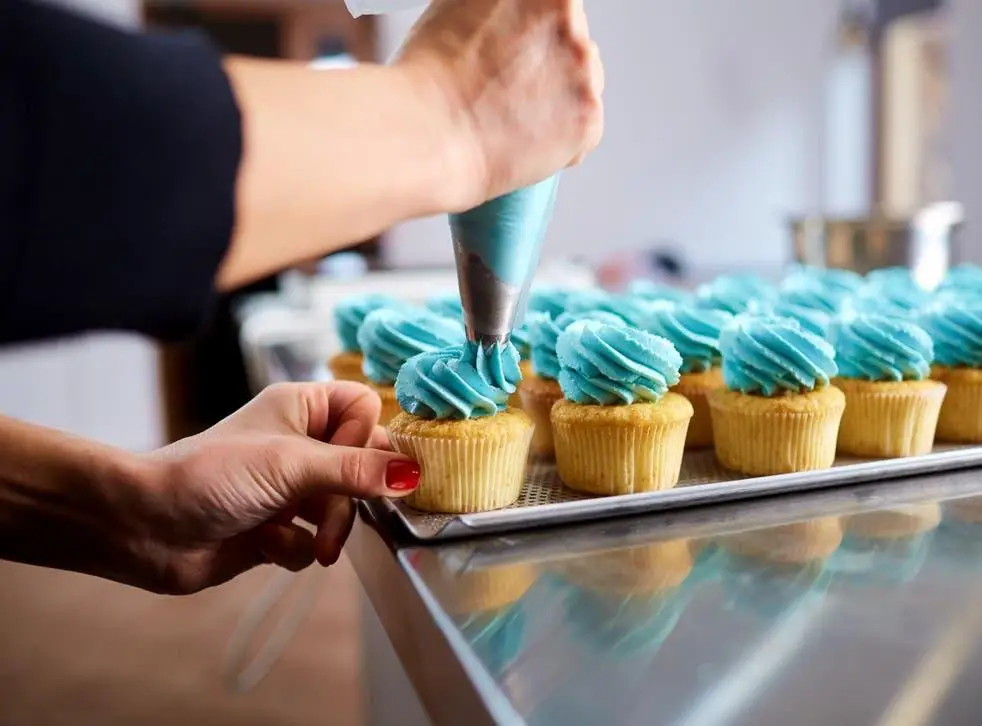
You can either do this by hand with a piping bag or spoon the frosting onto your cupcake tops to create those cute little flowers you see here! There’s no right or wrong way, so have fun experimenting until you find what works best for you and that delicious frosting sitting in front of you.
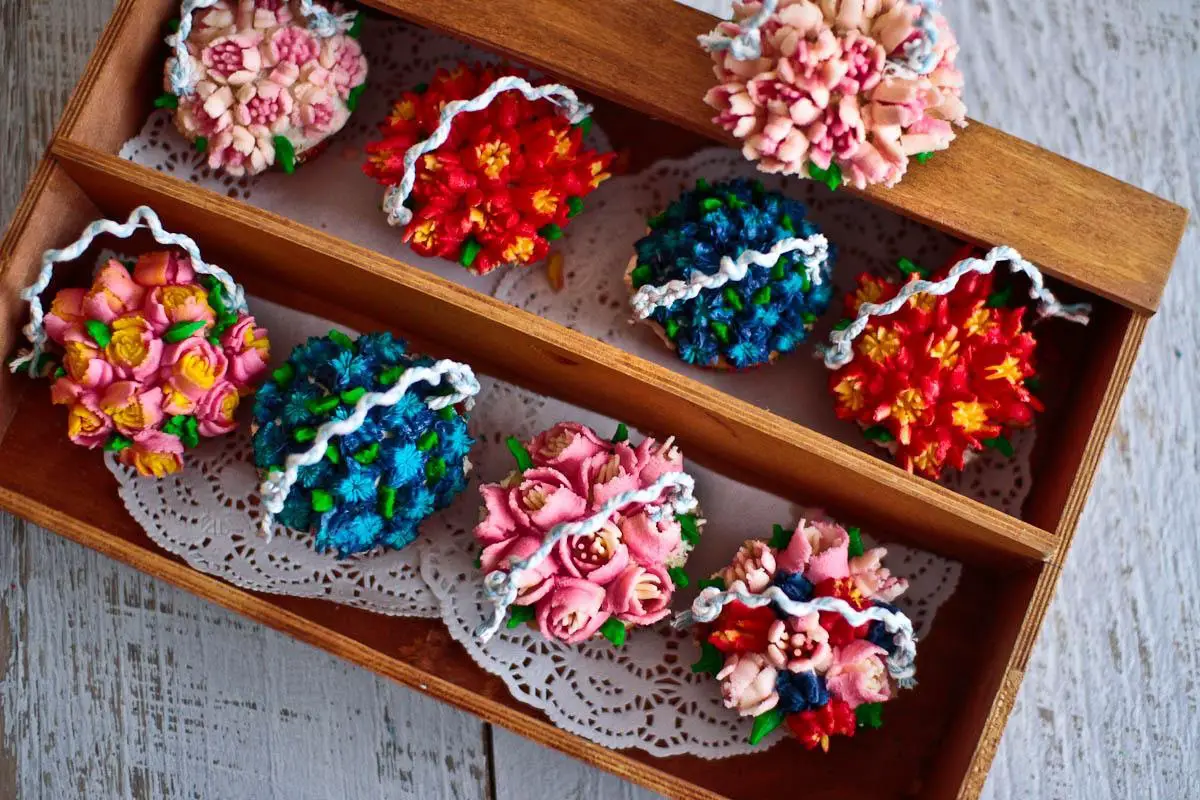
- Add different colors: If you want to make a bouquet of different flowers, just add a little bit more frosting into one bowl and mix in the color you want with it. Keep adding until you get the required color, and then go on piping! These shapes and colors are perfect for any occasion, and they’re a great way to dress up those cupcakes!
Things to take care of while making frosting flowers:
- Be careful with the cream: If you’re making cream cheese frosting, make sure to keep the mixture cold before piping. If it gets too soft or runny, pop it into the fridge for about 15 minutes and then try again. Or, if you’re using store-bought frosting, make sure to thin it out with some milk first and then put the mixture into a pastry bag.
- Make sure that your tips are sharp: When picking out tips, be sure to choose ones with smaller openings like #0 – #18 (you can buy these online) so they won’t end up looking more like blobs than flowers! They should also have a nice pointy tip on them because this allows you to get those tiny holes in the center of each petal which is what really gives a flower its realistic appearance. The smaller the opening at the top of your tips, the better results you’ll see when you’re piping your frosting.
- Pipe out your petals: To make the tips easier to work with, stick them in a tall cup and fold down the edges all around. This will allow you to fit three tips into one container, which saves space! When you’re ready to pipe, take your tips out and stand them up in a cup or glass so they can hold their shape.
- Always start with the outside petals: That way, if anything goes wrong (and it probably will at first!), there won’t be any visible gaps between inner and outer petals. You’ll want to start by piping two small blobs of frosting on either side of the center point where all three tips meet. For smaller flowers like daisies, make sure these blobs are pretty close together, but for larger blooms like peonies, you should space them farther apart because this gives each layer more room to expand without overlapping too much when we add new colors later!
Conclusion: With tips like these, making beautiful frosting flowers will be easy peasy. Now that you know how to make these blossoms try them out on your favorite baked goods!
Hey Everyone! This is Mia Shannon from Taxes. I'm 28 years old a professional blogger and writer. I've been blogging and writing for 10 years. Here I talk about various topics such as Fashion, Beauty, Health & Fitness, Lifestyle, and Home Hacks, etc. Read my latest stories.